If you’re looking to take your car photos to the next level, you need to know how to retouch them in Photoshop. Your photos will look amateur and out of place if you don’t. Here are several ways to Retouch Car Photos in Photoshop:
Use a lightning bolt to brighten your photo.
One of the most common mistakes people make when retouching car photos is using a lightning bolt. This will make your photos look artificial and out of place. Instead, use a simple black and white photo to start your retouching process. You can then brighten up the photo with a simple adjustment layer.
Use a Gaussian blur to remove any noise.
When retouching photos in Photoshop, it’s important to use a gaussian blur. This will help smooth out the image and make it look more professional.
Use a Levels tool to adjust the brightness and contrast of your photo.
To make your photos look more professional, use a Levels tool to adjust the brightness and contrast of your photo. This will help to make your photo look more polished and consistent.
Use a Curves tool to fine-tune the curves in your photo.
If you want to make your photos look more realistic, you need to use a Curves tool. This tool will help you adjust the curvature of your photo to match the curves of your car.
You can use this tool to make your car photos look more natural or unique.
Use a Straight edge tool to straighten out your photo
If your photos are crooked, you’ll need to use a straight edge tool to straighten them out. This will make your photos look more even and professional.
Use a Trim tool to remove any excess plastic or credit card lines.
If you’re retouching photos for a car advertisement, you’ll want to remove any excess plastic or credit card lines. This will help your photos look more professional and look more like the real thing.
Use Photoshop Actions to automate the retouching process.
If you want to take your car photos to the next level, you must automate the retouching process. By using Photoshop action, you can quickly and easily retouch all of your photos in one go. This will save you time and make your photo editing experience easier.
You can find Photoshop actions for many different photos, including car photos. By using an action, you’ll be able to easily improve the quality of your photos and get them looking great.
Create an adjustment layer
Next, create an adjustment layer in Photoshop. This layer will contain all of your retouching adjustments. You’ll want to choose a target color for this layer, so make sure it’s a light shade or brown.
Use the Hue and Saturation slider to adjust the color of your photo
Next, use the Hue and Saturation slider to adjust the color of your photo. You can experiment with different values until you find a look that you’re happy with.
Conclusion
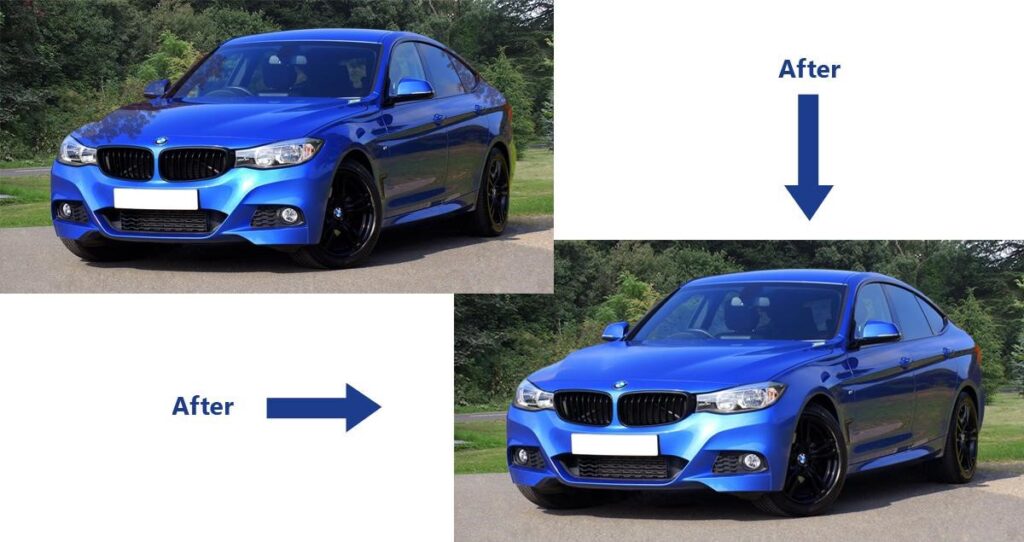
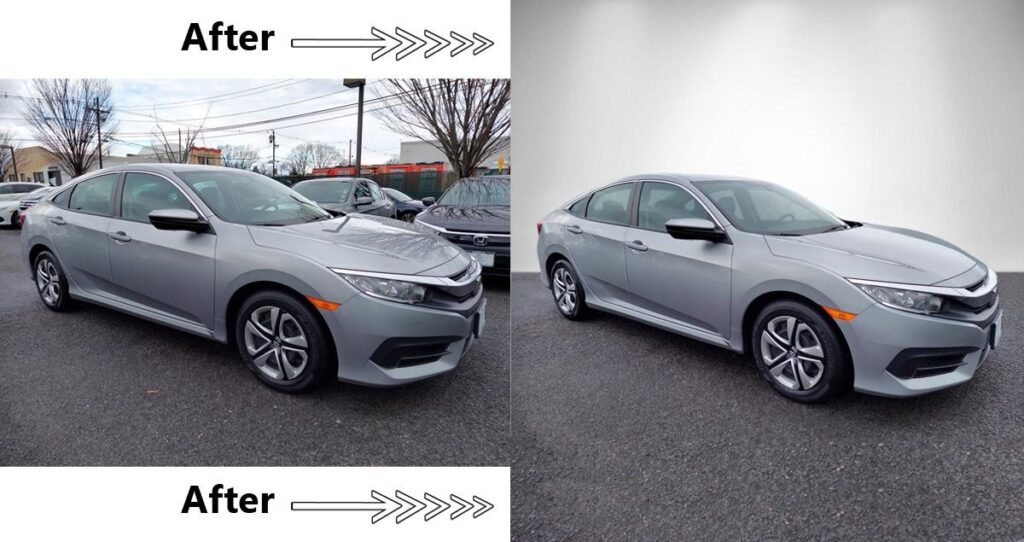
After taking the photos of your car and editing them in Photoshop, it’s time to apply some final touches. These steps will result in a professional-looking photo that will make your car look more convincing.